


Lighting a cultivation: what is it for? Imagine transforming a corner of your home into a lush mushroom farm where every harvest surpasses the previous one. If you thought mushrooms only grew in darkness, prepare to rethink your beliefs. LED lighting isn't just an optional extra, but a scientifically proven ally for achieving abundant harvests, vibrant colors, and superior nutritional properties. Here's how to make the most of it!
Lighting: why is light crucial for your mushrooms?
Contrary to the "total darkness" myth, mushrooms have a sophisticated relationship with light. Although they're heterotrophic organisms (not producing energy through photosynthesis), light acts as an irreplaceable biological signal in three key phases:
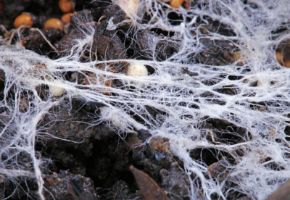
Fruiting stimulation: many species like Pleurotus (oyster mushrooms) or Shiitake require light exposure to trigger fruiting body formation. Without it, mycelium remains "dormant" or produces deformed primordia 57.
Smart navigation: mushrooms are phototropic! They grow toward the light source to optimally position spores for dispersal. Without light, you get elongated stems and small, crooked caps 58.
Color and substance: light directly influences pigmentation, texture, and nutritional value. Mushrooms grown in darkness are often pale and less rich in beneficial compounds like vitamin D2, which synthesizes with light exposure
LED vs other light sources: why diodes are the winning choice.
Not all lights are equal for mushroom cultivation. Here's why LEDs beat traditional alternatives:
Spectral precision: LEDs emit specific wavelengths (blue ~450 nm, red ~610-660 nm) that "communicate" with mushroom receptors. Blue light is crucial for forming broad, pigmented caps, while red may accelerate mycelial growth 1112.
Cool and efficient: unlike incandescent or halogen lamps, LEDs generate minimal heat (< 30°C surface temperature). This allows placement near mushrooms without dehydration or "cooking" risks – common with other lights 14.
Low consumption, long life: reduce energy costs by 50-70% versus fluorescents and last up to 50,000 hours. Ideal for continuous cultivation cycles without frequent replacements 4.
Total control: with programmable timers, recreate perfect day/night cycles (e.g., 12h ON/OFF) and adjust intensity (lux) by species and growth phase
Comparative Table: Lighting Technologies for Mushrooms
| Light Type | Useful Spectrum | Heat | Consumption | Average Life | Initial Cost |
|---|---|---|---|---|---|
| LED | High precision | Very low | Very low | 50,000 hours | Medium-high |
| Fluorescent | Medium (cool white) | Medium | Medium | 10,000 hours | Low |
| Incandescent | Low (red) | High | High | 1,000 hours | Very low |
| Natural | Complete but variable | Variable | Free | - | - |
Perfect LED lighting: parameters that make the difference
Turning on any LED isn't enough... you need the right LED optimally configured! Here's what to check:
Blue, Red or Full Spectrum? Spectrum determines harvest
Different light spectrums yield different results in size, texture and color. See what happens with various light sources:
Blue Light (450-500 nm): essential for Pleurotus, Shiitake and cardoncelli. Increases cap diameter by 10% and intensifies colors 12. Ideal for fruiting phase.
Red Light (610-660 nm): stimulates mycelial expansion and primordia precocity (mushroom "buds"). Less crucial than blue but useful in combination 1112.
Combined Red+Blue (e.g., 70% R / 30% B): combines advantages of both. Excellent for synergistic growth and nutrient effects 11.
Full Spectrum (Cool White 6000-6500K): mimics daylight and works for all species. Guarantees high yields with Cordyceps and Champignon.
Intensity and duration: less is more.
24-hour lighting isn't always best for all species. Great for some, less effective for others if lamps aren't properly calibrated.
Moderate intensity is key: 500-1000 lux (approx. 20-50 µmol/m²/s) are sufficient. No need for tomato greenhouse-level lighting! 57.
8-12 hour photoperiod: simulates natural day/night cycles. An inexpensive timer suffices for automation. If lamps are particularly powerful and not properly calibrated, avoid continuous light: mushrooms need darkness to "breathe".
Foolproof installation
When installing DIY LED strips for growing , placement is critical.
Safe distance: position LEDs 20-40 cm from substrate. Higher power requires greater distance. Always check mushroom surface temperature 6.
Uniform diffusion: use multiple LED strips or panels to avoid shaded areas causing crooked growth. Reflectors help.
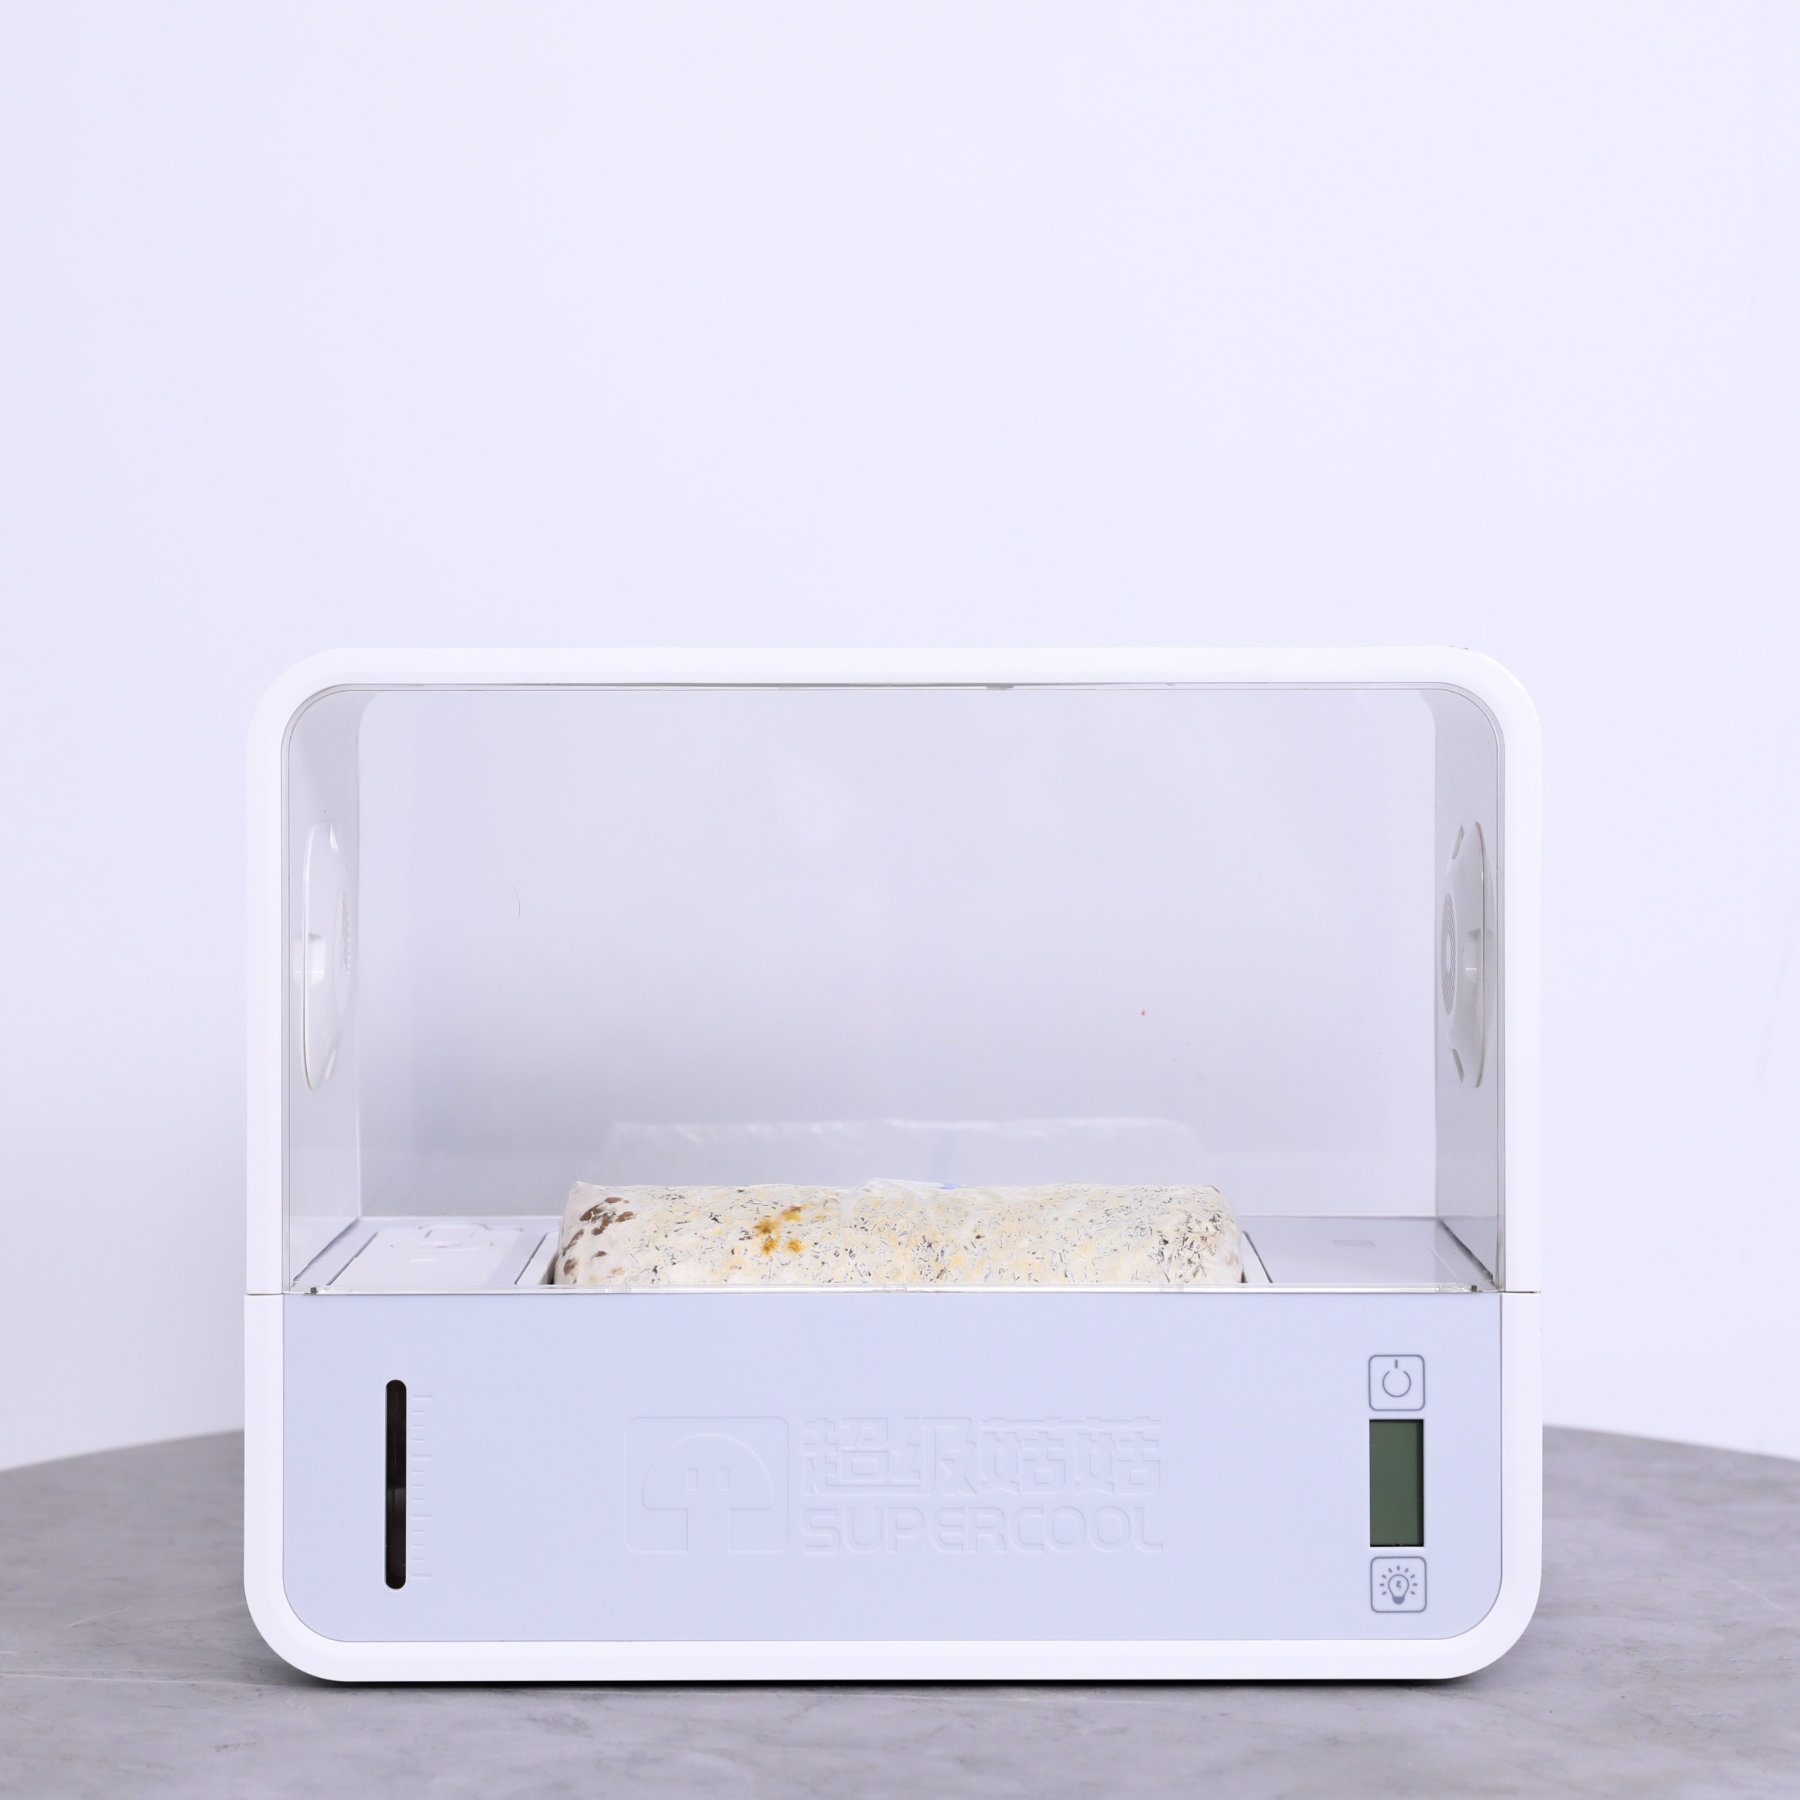
For beginners starting mushroom cultivation, pre-calibrated home systems like Grow boxes are available.
Practical examples: how LEDs transform real cultivations
Theory is clear, but concrete results? Here are research-based demonstrations:
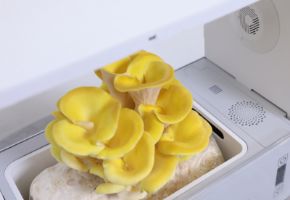
Pleurotus ostreatus (Oyster): under blue LED light, cap diameter increases 10% versus dark-grown specimens, colors intensify. Try with a kit: use a blue LED strip (450nm) 12h/day at 30cm from cakes.
Shiitake (Lentinula edodes): responds to diffused white (6000K) or blue light. With 8h/day cool spectrum LEDs, fruiting bodies become more compact (less "stretched"), primordia increase 15% 57. Try: E27 cold white LED bulb (6000K), 8h/day, 40cm from substrate.
Cordyceps militaris: under blue light, dry weight yield and adenosine content (immunostimulant) surge 25% versus red/natural light. White light gives best overall yields 13. Try: Blue+white LED panel, 12h/day, 25cm from substrate.
Table: optimal LED settings for popular species
| Mushroom Species | Ideal LED Spectrum | Intensity (lux) | Photoperiod | Distance |
|---|---|---|---|---|
| Pleurotus ostreatus | Blue (450nm) or R+B (70/30) | 500-800 | 10-12 hours | 20-30 cm |
| Shiitake | Cool White (6000K) | 600-1000 | 8-10 hours | 30-40 cm |
| Champignon | Low/Cool white | 200-500 | 4-6 hours | 40-50 cm |
| Cordyceps militaris | Blue or White | 800-1000 | 12 hours | 25-35 cm |
| Hericium (Lion's Mane) | White or Blue | 700-900 | 12 hours | 30 cm |
5 Practical tips to start with LEDs now
Choose suitable hardware: full spectrum or blue LED strips are most versatile. For home kits, 10-20W suffices. Seek IP65 certification in humid environments 34.
Automate with timer: set 12h light cycles (e.g., 8:00-20:00). Consistency trumps power! 6.
Adjust height: start at 40cm and lower gradually if no phototropism occurs. Raise if substrate appears dry 18.
Keep a journal: record species, LED spectrum, yield and observations. Optimizes future cycles (e.g., "Blue light increased my Pleurotus caps by 15%").
Clean regularly: dust and humidity reduce LED efficiency. Wipe with dry cloth every 2 weeks when powered off.
More light... More mushrooms!
By selecting the right spectrum, dosing intensity/duration, and monitoring mushroom responses, you'll transform every kit into a hyper-productive micro-farm. Benefits are tangible: more beautiful colors, heavier harvests, enhanced nutrients and lighter bills.
And if you're just starting out: trust automated grow boxes!
The fungal kingdom is a universe in continuous evolution, with new scientific discoveries emerging every year about their extraordinary benefits for gut health and overall well-being. From now on, when you see a mushroom, you will no longer think only of its taste or appearance, but of all the therapeutic potential it holds in its fibers and bioactive compounds. ✉️ Stay connected - Subscribe to our newsletter to receive the latest studies on: Nature offers us extraordinary tools to take care of our health. Fungi, with their unique balance between nutrition and medicine, represent a fascinating frontier we are only beginning to explore. Continue to follow us to discover how these extraordinary organisms can transform your approach to well-being.Continue your journey into the world of fungi